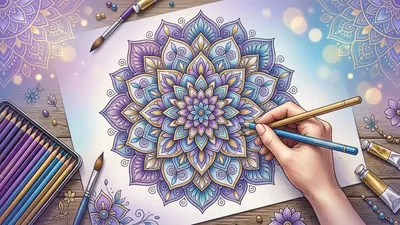
Mandala coloring is a well-known practice for calming the mind, reducing stress, and fostering focus. But have you ever felt the need to go further? Drawing your own mandala is a creative meditative experience that goes far deeper than simply filling in pre-printed patterns. As you trace each line, you aren't just assembling geometric shapes: you are projecting your inner state onto paper and creating a unique sacred space.
Starting to create a personal piece can seem intimidating at first, especially if you aren't a seasoned artist. Yet, the beauty of the mandala lies in its repetitive structure, which is accessible to everyone. With this comprehensive guide, you will discover how to transform a simple blank sheet of paper into a universe of harmony and balance.
The Art of Precision: Essential Gear for Your First Steps
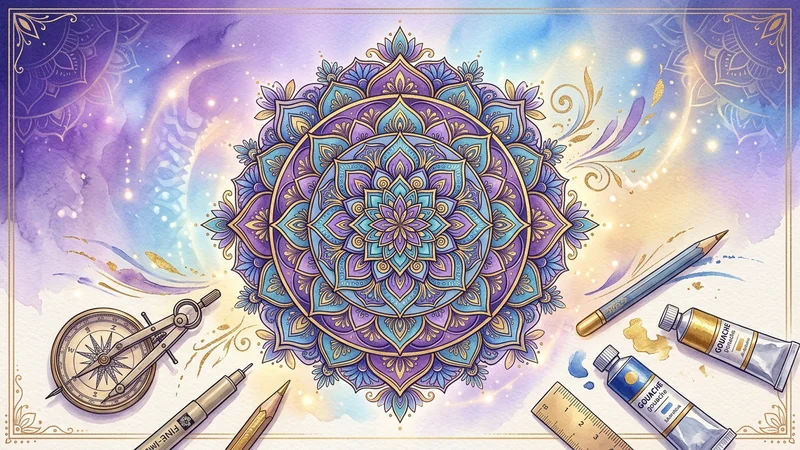
Before diving into your first composition, it is essential to be properly equipped. Precision is the key to achieving a balanced result. To create a personalized mandala, there is no need to invest in expensive professional equipment; a few basic tools are more than enough.
Geometric Drafting Tools
- A precision compass: This is your most important tool. Choose a model with a locking wheel to prevent the radius from changing while you draw.
- A ruler: A 30 cm transparent ruler is ideal for aligning your axes of symmetry.
- A protractor: Essential if you wish to divide your circle into equal parts with mathematical rigor.
- A mechanical pencil: Opt for HB or 2H lead for thin, precise lines that are easy to erase.
Paper and Finishing
As for paper, graph paper is a valuable aid for beginners. Its fine grid allows you to easily locate the center and count units to ensure perfect symmetry. If you prefer a more artistic finish, opt for thick drawing paper (at least 160g/m²) that will handle pencil, ink, or markers equally well.
"The mandala is a mirror of the soul. By preparing your materials with care, you are also preparing your mind to enter a state of calm and presence."
The Fundamental Structure: Building Your Mandala’s Foundation
Every great project begins with a solid base. The magic of the mandala rests on its concentric geometry. To succeed in your mandala drawing tutorial, you must start by defining the heart of your creation.
Finding the Focal Point
The central point is the starting point for all the energy in your drawing. Mark it lightly with your compass on your sheet. Everything will gravitate around this point. Use your ruler to draw two perpendicular lines (one horizontal and one vertical) that intersect at this point. These axes will serve as guides to maintain symmetry throughout your process.
Drawing Concentric Circles
Once the center is set, use your compass to draw several circles of varying radii around this point. Don't try to be too complex right from the start. Begin with three or four evenly spaced circles. These zones will serve as "paths" for your future motifs.
Expert Tip: Press very lightly with your pencil during this step. These circles are only temporary markers that will be erased or covered by your final details.
Harmonizing Your Shapes: Filling Techniques and Organic Motifs
This is where your personality shines through. Once your geometric structure is in place, it is time to fill the spaces. The geometric drawing method consists of repeating a simple motif in each sector of your circle.
The Power of Repetition
For your mandala to be harmonious, the key is repetition. If you draw a petal in one section, reproduce it in all the other sections delimited by your axes. This repetition creates a visual rhythm that is naturally soothing to the brain.
Integrating Organic Shapes
Don't limit yourself to triangles and squares. To make your mandala drawing more vibrant, alternate with shapes inspired by nature:
- Flower petals: Draw almond shapes that reach outward.
- Water droplets: Ideal for softening the rigid angles of the geometric structure.
- Scrolls and spirals: They bring movement and a sense of fluidity to your work.
- Dots and stippling: Use them to create areas of texture and contrast between larger shapes.
Remember that there are no mistakes in a mandala. If a line seems a bit off, transform it into a new motif. That is the true beauty of drawing your own mandala: accepting the unexpected and integrating it into the whole.
Dare to Create: Start Your Own Mandala Sketchbook
Now that you have the basics of structure and filling, it is time to make these techniques your own. Regular practice is the best way to progress and find your personal style. Why not dedicate an entire sketchbook to this exploration? Each page will be a reflection of your mood of the day, an indelible trace of your inner journey.
Do not seek immediate perfection. Each line you draw is a victory over stress and one step closer to better self-awareness. Drawing your own mandala is a journey, not a destination. Start small, be patient with yourself, and above all, enjoy watching these geometric shapes come to life before your eyes.
Did you enjoy this guide and want to go further? Explore our vast library of printable mandalas, designed specifically to stimulate your creativity. Whether you are a fan of traditional coloring or looking for complex templates to inspire your personal creations, you will find everything you need on our site to fuel your passion. Discover our exclusive collection now and start coloring your world today!